Introduction
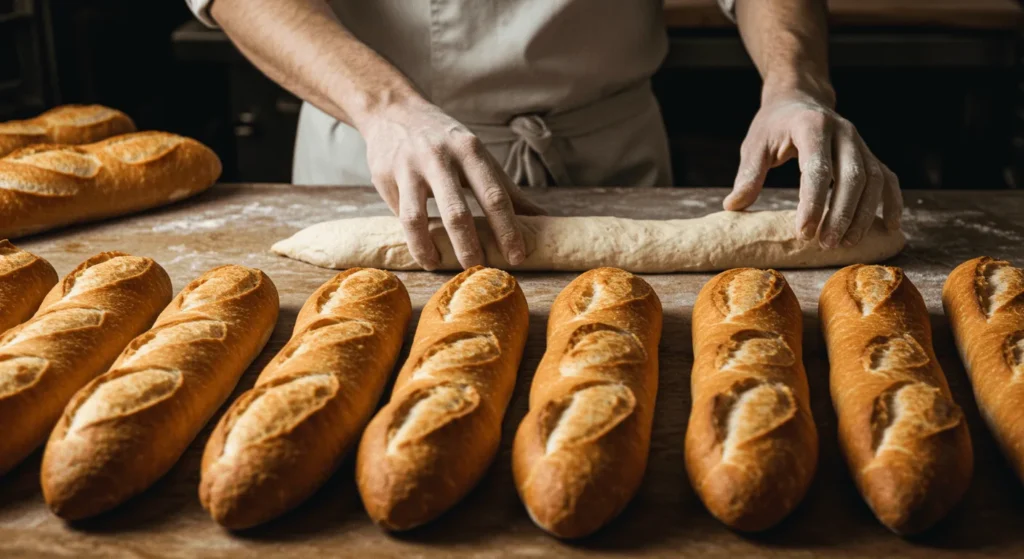
The Paris baguette represents more than just bread—it symbolizes French food and culture. Its crisp crust and soft, airy inside delight bread lovers around the world. Yet, many home bakers struggle to make a perfect baguette.
This post reveals the secrets to baking baguettes that look and taste amazing. You’ll choose the best ingredients, master essential techniques, and fix common mistakes with ease. Each tip ensures you can bake baguettes like a pro.
Whether you’re new to baking or have years of experience, this guide helps you create baguettes that impress everyone. Let’s dive in and bring a little piece of France into your kitchen!
Understanding the Anatomy of a Perfect Baguette

The beauty of a perfect Paris baguette lies in the harmony of its crust, crumb, and flavor. Each element must be carefully crafted to create the ultimate bread. Let’s explore how to master these essential aspects.
The Ideal Crust
The crust defines the baguette’s character. It must be golden, crispy, and satisfyingly crackling with every bite.
1. Achieving the Right Color and Texture
- To start, preheat your oven to at least 475°F (245°C) to achieve proper browning.
- Additionally, the Maillard reaction is what creates that golden hue and nutty aroma.
2. The Role of Steam
- Furthermore, steam is essential for delaying crust formation, allowing the dough to expand fully.
- For example, you can place a tray of boiling water in the oven or spray the walls with water.
3. Practical Example
- To illustrate, bake the dough on a hot baking stone for 20–25 minutes.
- Finally, remove the steam tray halfway through to promote a crisp crust.
The Soft Interior (Crumb)
The crumb provides the baguette’s airy texture and chewiness, making it a joy to eat. Achieving this involves proper dough hydration and gluten development.
1. Gluten Development
- First, knead the dough until gluten strands form, creating structure to trap air bubbles.
- Moreover, you can perform a “windowpane test” by stretching a small piece of dough thinly without breaking it.
2. Hydration Levels
- A higher hydration dough, ideally 65–75%, helps create a soft and open crumb.
- Additionally, try to avoid adding extra flour during kneading to preserve this hydration.
3. Practical Example
- For instance, mix 500 grams of flour with 375 grams of water, 10 grams of salt, and 2 grams of yeast.
- Then, let the dough rest for at least 30 minutes to allow gluten to form naturally.
The Flavor Profile
A Paris baguette’s flavor is more than a simple taste—it’s a complex balance created through fermentation and quality ingredients.
1. Long Fermentation for Depth of Flavor
- Slow fermentation enhances flavor by giving the yeast more time to work.
- As a result, your baguette develops a rich, tangy, and nutty taste.
2. Quality Ingredients Matter
- Always use high-quality unbleached bread flour for better flavor and structure.
- Furthermore, fresh yeast or sourdough starter adds complexity to the final product.
3. Practical Example
- For example, mix the ingredients, cover, and refrigerate the dough overnight.
- Finally, shape, proof, and bake the dough for a flavor-packed result.
Essential Ingredients for Baking Authentic Baguettes

Creating the perfect Paris baguette begins with understanding the essential ingredients and how they interact. Using the right flour, water, salt, and yeast, along with optional flavor-enhancing additions, ensures that your baguette turns out both authentic and delicious. Let’s break down the role of each ingredient.
Choosing the Right Flour
Flour is the foundation of your Paris baguette. Choosing the right type of flour directly affects the texture, taste, and structure.
1. Types of Flour
- Bread flour, with its high protein content, is ideal for baguettes.
- Alternatively, all-purpose flour can work but may result in less structure and chewiness.
2. Protein Content for Gluten Development
- Gluten is crucial for forming the stretchy, elastic dough needed for a baguette.
- Opt for flour with at least 11–13% protein to achieve a well-developed crumb.
3. Practical Example
- For example, use 500 grams of bread flour for a standard baguette recipe.
- Additionally, consider blending bread flour with whole wheat flour for added flavor.
Water, Salt, and Yeast
The supporting ingredients—water, salt, and yeast—play equally important roles in achieving an authentic Paris baguette.
1. Role of Water Temperature in Activating Yeast
- Water at 95–105°F (35–40°C) is perfect for activating yeast without killing it.
- Cooler water slows fermentation, while hotter water risks damaging yeast cells.
2. Balancing Salt for Flavor Without Hindering Yeast Activity
- Salt adds flavor and strengthens gluten, but too much can inhibit yeast.
- Use 2% salt by weight relative to the flour for the best balance.
3. Practical Example
- For instance, mix 375 grams of lukewarm water with 10 grams of salt and 2 grams of active yeast.
- Stir until the yeast dissolves completely for even fermentation.
Optional Additions for Flavor Variations
Although traditional Paris baguettes use simple ingredients, optional additions can introduce unique flavors and textures.
1. Adding Herbs and Seeds
- Fresh herbs like rosemary or thyme add aromatic notes.
- Seeds, such as sesame or sunflower, provide a crunchy texture.
2. Incorporating a Sourdough Starter
- Sourdough starter enhances the flavor profile with tangy, earthy notes.
- Replace a portion of the yeast with 100 grams of starter for an artisanal touch.
3. How Additions Affect Texture and Taste
- Herbs and seeds can slightly alter the hydration level, so adjust water if needed.
- Sourdough introduces a chewier texture due to its acidity and fermentation.
4. Practical Example
- For example, mix chopped rosemary and sesame seeds into the dough before shaping.
- Alternatively, fold in sourdough starter during the initial mixing stage.
Step-by-Step Guide to Baking the Perfect Baguette

Mastering the perfect baguette requires following each step carefully. From preparing the dough to baking and cooling, every detail matters. Let’s dive into the step-by-step process to create authentic, bakery-quality baguettes at home.
Preparing the Dough
The dough forms the foundation of your Paris baguette. Proper mixing and kneading ensure the right hydration, texture, and structure.
1. Mixing Techniques for Even Hydration
- Combine flour, water, yeast, and salt in a large mixing bowl.
- Stir with a wooden spoon or dough whisk until no dry spots remain.
- Additionally, allow the dough to rest for 20 minutes before kneading to hydrate fully.
2. Kneading vs. No-Knead Methods
- Traditional kneading develops gluten by stretching and folding the dough.
- Alternatively, the no-knead method relies on time, allowing gluten to form during an extended rest period.
- For example, stretch and fold the dough every 30 minutes over 2 hours for a no-knead approach.
3. Practical Tip
- To test gluten development, perform the “windowpane test.” Stretch a small piece until it’s thin and translucent.
Proofing and Shaping the Baguette
Proper proofing and shaping are crucial to achieving the signature Paris baguette look and texture.
1. Importance of Proper Proofing Time
- Proofing allows the dough to rise and develop flavor.
- Let the dough rise until it doubles in size, typically 1–2 hours at room temperature.
- For a richer taste, refrigerate the dough overnight during the first proof.
2. Techniques for Shaping
- Divide the dough into equal portions, about 250 grams each, for consistent baguettes.
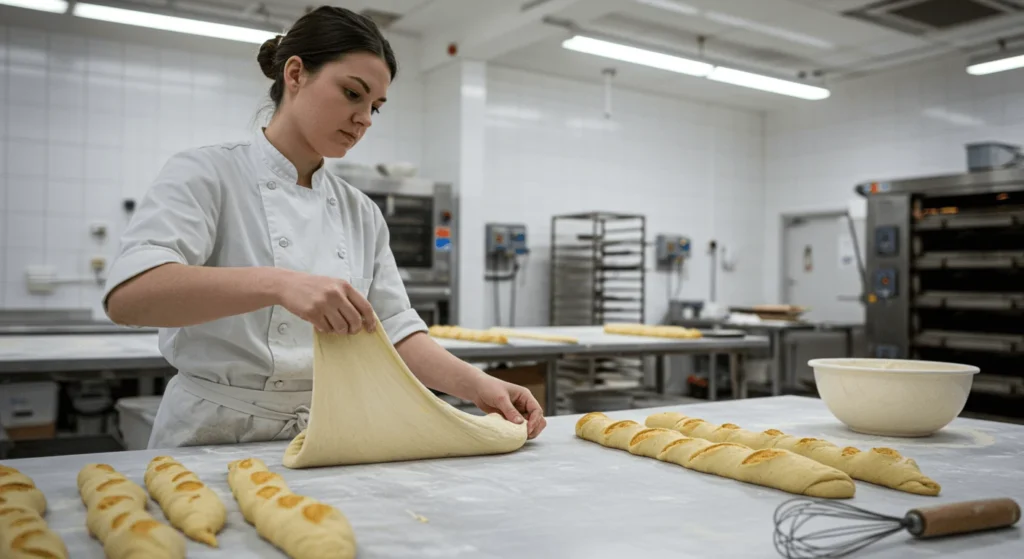
- Flatten each portion into a rectangle, fold the edges inward, and roll tightly to form a log.
- Pinch the seam closed and roll gently to lengthen the dough to about 12–16 inches.
3. Practical Tip
- Use a floured couche (linen cloth) or parchment paper to support the shaped baguettes during the final proof.
Baking and Cooling
The baking stage determines the crust’s crispness and the crumb’s airy texture. Cooling ensures the bread retains its shape and flavor.
1. Creating Steam for a Crispy Crust
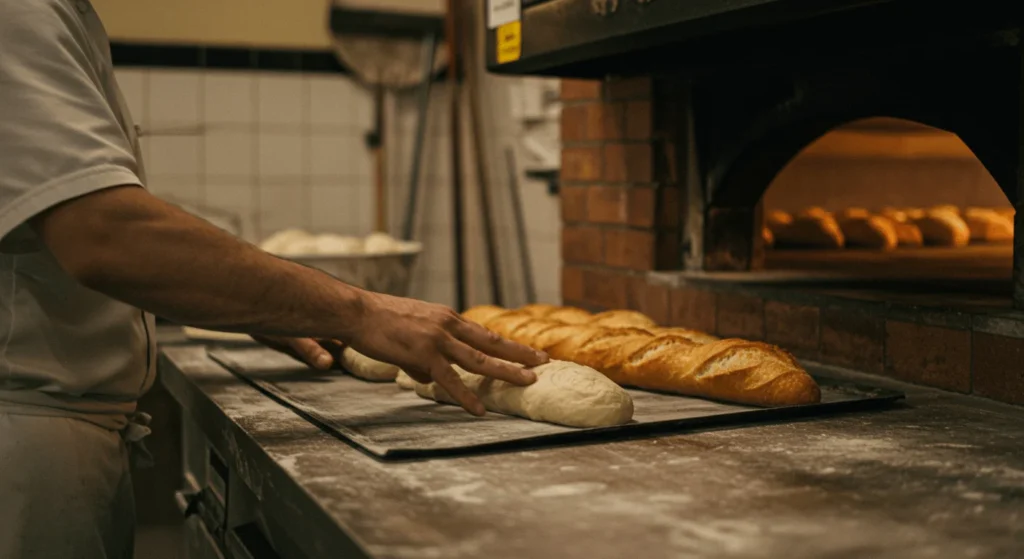
- Preheat your oven to 475°F (245°C) with a baking stone or steel inside.
- Add a steam tray (a metal pan) to the bottom rack.
- Before placing the baguettes in the oven, pour boiling water into the tray or spritz the oven walls with water.
2. Baking Tips for Even Results
- Bake the baguettes for 20–25 minutes or until the crust is golden brown.
- Rotate the baguettes halfway through to ensure even browning.
3. Cooling Tips to Avoid Soggy Bread
- After baking, transfer the baguettes to a cooling rack immediately.
- Allow the bread to cool completely before slicing to prevent a gummy interior.
4. Practical Tip
- Tap the bottom of a cooled baguette; a hollow sound indicates it’s baked perfectly.
Troubleshooting Common Baguette Baking Issues

Even seasoned bakers face challenges when baking baguettes. By understanding these common issues and their solutions, you can refine your technique and consistently bake perfect baguettes.
Flat or Misshapen Baguettes
Flat or oddly shaped baguettes are often the result of errors in shaping or proofing. However, these issues can be fixed.
1. Causes: Improper Shaping or Under-Proofing
- Insufficient proofing leads to dense dough that won’t rise properly in the oven.
- Improper shaping, such as uneven rolling, can result in an irregular shape.
2. Solutions for Consistent Results
- First, ensure the dough rises fully during the proofing stage; it should double in size.
- Next, focus on even shaping by folding and rolling the dough tightly but gently.
- Additionally, practice scoring the baguette with consistent, shallow cuts to guide the expansion.
3. Practical Example
- For instance, use a proofing basket or a floured couche to support the baguettes during the final proof.
- Then, before baking, let the dough rest for 15 minutes to relax the gluten and avoid tearing.
Lack of Crustiness or Pale Crust
A baguette’s crust is its hallmark. When it’s pale or soft, the problem often lies in baking conditions or technique.
1. How to Ensure Sufficient Oven Heat and Steam
- Preheat the oven to a minimum of 475°F (245°C) to ensure a strong initial oven spring.
- Furthermore, introduce steam during the first 10 minutes of baking by adding boiling water to a steam tray.
2. Adjustments for High-Altitude Baking
- At high altitudes, dough ferments faster, so reduce proofing time to prevent over-fermentation.
- Also, increase oven temperature by 15–25°F (8–12°C) to account for lower air pressure.
3. Practical Example
- For example, place a baking stone in the oven to retain heat and stabilize temperature fluctuations.
- Then, use a spray bottle to mist the baguette surface before placing it in the oven.
Dense or Gummy Interior
A baguette’s interior should be airy and light. When it’s dense or gummy, there’s likely an issue with proofing or mixing.
1. Identifying Under-Proofing or Over-Mixing Issues
- Under-proofing prevents the dough from developing sufficient gas for an open crumb.
- Conversely, over-mixing damages gluten, leading to a dense or sticky texture.
2. Tips to Ensure the Perfect Airy Crumb
- Always proof the dough until it doubles in size and springs back slowly when pressed.
- Use gentle, minimal mixing to avoid overworking the dough and breaking gluten strands.
3. Practical Example
- For instance, allow the dough to rest for 30 minutes after mixing to encourage natural gluten development.
- Additionally, test readiness by lightly poking the dough—properly proofed dough leaves an indentation that slowly fades.
Tips and Tricks for Mastering Baguette Baking

Mastering baguette baking requires more than following a recipe—it’s about using the right tools, applying advanced techniques, and experimenting with new flavors. These ps and tricks will help you elevate your baguette-making skills and achieve bakery-quality results.
Using the Right Tools
The tools you use significantly impact the quality of your baguettes. While some tools are essential, budget-friendly alternatives also work well.
1. Essential Tools for Baguette Baking
- Proofing baskets support dough during the final proof, helping it maintain its shape.
- Baking stones retain heat and ensure even baking, creating a crispy crust.
- Scoring blades, also known as lame knives, make precise cuts that allow controlled expansion in the oven.
2. Alternatives for Budget-Friendly Baking
- Instead of proofing baskets, use a well-floured kitchen towel placed in a bowl.
- Replace a baking stone with an inverted baking sheet preheated in the oven.
- A sharp kitchen knife can substitute for a scoring blade in a pinch.
3. Practical Example
- For instance, preheat an inverted baking sheet and line it with parchment paper to mimic a professional baking stone.
- Additionally, fold a towel over the dough during proofing to replicate the effect of a couche.
Advanced Techniques for Perfect Results
Advanced techniques can take your baguette baking to the next level. These methods enhance the flavor, texture, and structure of your bread.
1. Autolyse Method for Gluten Development
- The autolyse method involves mixing flour and water and letting it rest before adding salt and yeast.
- This rest period allows enzymes to break down starches, improving gluten development and dough elasticity.
2. Retarding Dough in the Fridge for Enhanced Flavor
- Retarding, or slowing fermentation, involves refrigerating the dough for 12–24 hours.
- This method enhances flavor by giving yeast more time to produce complex aromas.
3. Practical Example
- For example, mix flour and water and let it rest for 30 minutes during the autolyse stage.
- Then, refrigerate the dough overnight to develop a tangy, nutty flavor.
Experimenting with Recipes
Once you’ve mastered traditional baguettes, experimenting with recipes can add variety and excitement to your baking routine.
1. Whole-Grain Baguettes for Health-Conscious Bakers
- Replace up to 50% of bread flour with whole-grain flour to create a nuttier, denser baguette.
- Whole grains add fiber and nutrients, making your baguette more nutritious.
2. Flavored Baguettes with Garlic, Rosemary, or Cheese
- Incorporate minced garlic and chopped rosemary into the dough for an aromatic twist.
- Alternatively, add grated cheese to the dough or sprinkle it on top before baking.
3. Practical Example
- For instance, mix 10 grams of fresh rosemary and 50 grams of grated Parmesan into your dough before shaping.
- Additionally, brush the shaped dough with olive oil and sprinkle it with garlic powder for extra flavor.
Conclusion
Baking the perfect baguette is more than a culinary achievement—it’s an art form that connects technique, patience, and passion. Mastering these methods not only improves your bread-making skills but also deepens your appreciation for this iconic staple of French cuisine.
As you now know, every step matters in creating authentic baguettes. From choosing the right flour to understanding gluten development and proofing, each detail contributes to the final result. Additionally, applying advanced techniques and experimenting with flavors can transform a simple baguette into a masterpiece.
We encourage you to take what you’ve learned and start experimenting in your kitchen. For instance, try retarding your dough overnight for enhanced flavor or baking with a steam tray for a crispier crust. Share your creations with family and friends to spread the joy of homemade baguettes.
Finally, why not take your freshly baked baguette on your travels? From Paris to Morocco, a baguette pairs perfectly with a traditional Moroccan tagine, creating a delightful fusion of flavors and cultures.
We’d love to hear about your baguette-baking adventures! Leave a comment below with your tips, tricks, or questions. If you found this guide helpful, subscribe to our newsletter for more bread-baking tips and techniques. You can also share this post on social media to inspire others to try their hand at baking. Together, let’s keep the tradition of baguette baking alive!

